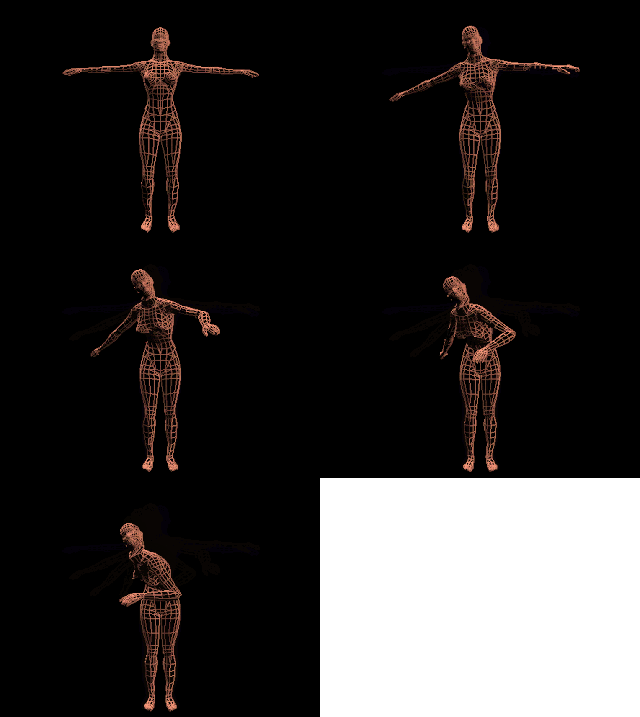
3-D Contour Wire Figure
3-D Wire Project Part 1
Problem: Create three free-standing wire studies that display gesture and movement within the human form in 3-D.
Objective: To begin to learn the basic principles of conveying volume with line, to become familiar with wire as a material, and to understand the importance of interpreting 3-D forms as geometric solids .
Materials: Bailing wire and needle nose pliers.
Strategy:
Using a live model, create a replica of 3 specific poses presented in class during timed sessions.
Consider all elements of the figure as cylinders and spheres manipulated through proportion to show each pose.
Start with the external contour of the figure and then wrap the remaining wire around the limbs, torso, and head to show 3-D volume.
Move around the model to better understand the pose and how to convey proportion
IMPORTANT:
- Focus on showing volume of the figure.
- Each figure must be free standing by incorporating a prop or making the feet support the form.
- All volume components must be a minimum of 1”X1”X1”
- Each figure must be made from a single un-cut piece of wire.
ALL DESIGNS MUST BE EXECUTED IN CLASS USING A LIVE MODEL
USE CROSS CONTOUR LINE TO CONVEY 3-D VOLUME
CHECK YOUR DESIGNS BY VIEWING THE MODEL FROM DIFFERENT ANGLES
__________________________________________________________________________________
A normally proportioned figure is approximately 8 heads tall. Consider how the figure can be broken down into a series of basic 3-D volumes such as the sphere, cone, cylinder, etc. Focus on the underlying structure of the figure and not the clothing on top. The following link explains the geometric 3-D solids in basic animations: www.bgfl.org/shapes The following link is a basic explanation of cross-contour rendering with line: http://www.youtube.com/watch?v=Afw1Qe5vbmYThe image on the left represents the human figure through 3-D volumes.
The image on the right represents the human figure through cross contour line.
(click on image for animation)
These images are examples of figures constructed with wire. The first three examples show more gestural and organic interpretations and the last shows a structred cross-contoure approach.

3-D Wire Project Part 2
Problem: Create a free-standing wire sculpture that is a replica of another complex form in a representational manner.
Objective: To begin to learn the basic principles of conveying cross contour volume with line, to become familiar with breaking a complex form down into basic 3-D solids, and to understand the importance of proportion in representational 3-D composition .
Materials: Bailing wire and needle nose pliers.
Strategy:
Using a complex object you have found from home, create a replica that increases scale and maintains proportion.
Consider all elements of the object you are replicating as 3-D solids manipulated through proportion to show accurate representation and a recognizable object.
Make a sketch of the object represented through basic 3-D solids without detail.
Start with the basic contours of the object and then add cross contour line to show 3-D volume.
Make measurements in an effort to maintain proportion in the final product.
IMPORTANT:
- Your replica must have accurate proportion and be recognizable to the viewer.
- Focus on showing volume of the object through cross contour over basic 3-D solids.
- The final sculpture must be free standing and incorporate a base.- Lengths of wire may be cut, but no material other than wire may be included
- The object you are replicating must be photographed and represented in your final portfolio
ALL DESIGNS MUST BE EXECUTED USING AN ACTUAL MODEL
USE CROSS CONTOUR LINE TO CONVEY 3-D VOLUME
CHECK YOUR PROPROTION BY USING COMPARATIVE MEASUREMENT OF DIFFERENT AREAS IN THE PIECE.
Accuracy of proportion will be important.
chainsaw by Dennis Friedly
camera by Scott Folsom


